
Storing and managing Contacts within War Room.
WarRoom is a Secure communication platform which duly authenticate each contact before any communication can be setup. Its for this reason you must add your contacts in WarRoom that you wish to communicate. While you can add contacts on the fly when creating a meeting all your contacts live under 'CONTACTS' page.
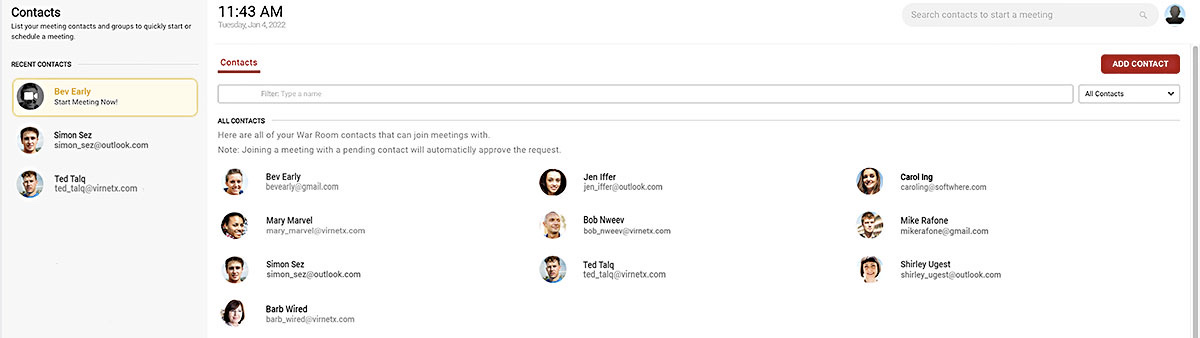
From any screen click the CONTACTS button on the left side panel.
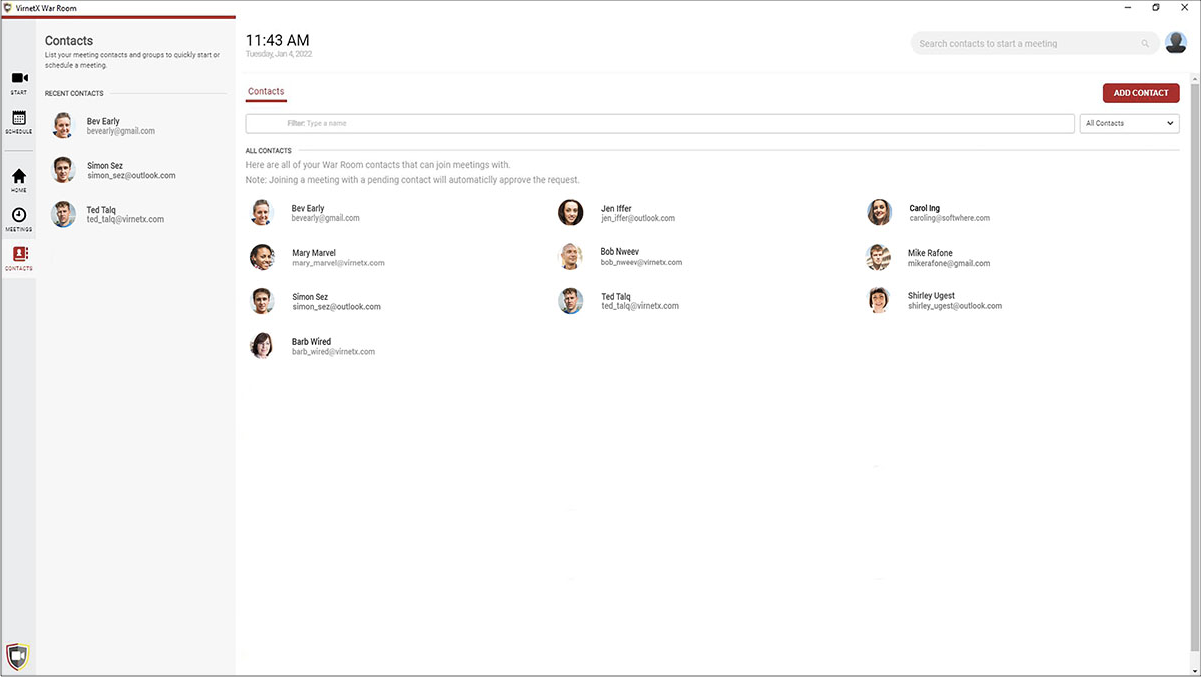
Note: RECENT CONTACTS will populate based on Contacts that you meet with most often.
Contacts basics: Filtering
Filtering contacts can be done multiple ways. If a single letter is typed in the ‘Filter: type a name’ box.

Note: The example above shows the results based on typing the letter b. Each contact shown has a b somewhere in the contact information.
When an entire name is typed (example = bob) it will narrow the results down even further.

It is also possible to filter by grouping by clicking on the box to the right of the Filtering box.
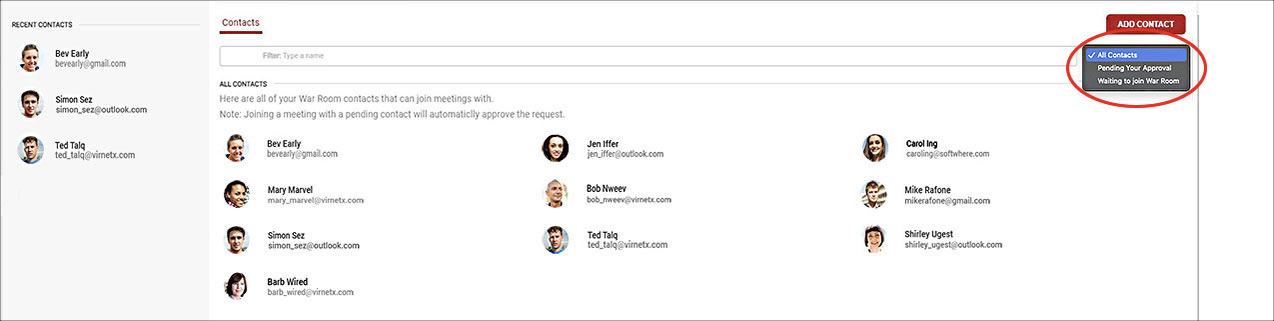
Note: The current groups available are All Contacts / Pending Your Approval / Waiting to join War Room.
Contacts basics: Viewing and managing contact details
When a contact is clicked on in the CONTACTS window the Contacts Details window appears.
The options for the contact is determined by the current status for the contact.
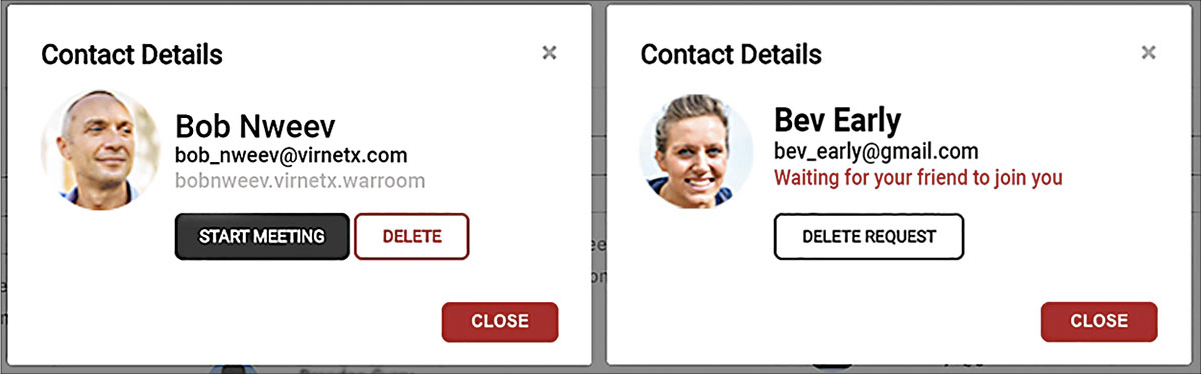
- Contact in system - Invited into War Room and has accepted. A meeting can be started with a contact that is within the War Room, or be removed from the system completely by clicking the DELETE button.
- Contact not in system - Invited into War Room but has not accepted yet. A contact that has not accepted yet can be removed from the system by clicking the DELETE REQUEST button
Note: The red text indicates the contact shown above is not a part of the War Room system yet.
Creating a contact and starting a meeting with a contact:
- To add a new contact click the ADD CONTACT button on the Contacts screen.
- On the Add or invitee a new contact screen fill in the email address (required), first name, and last name.
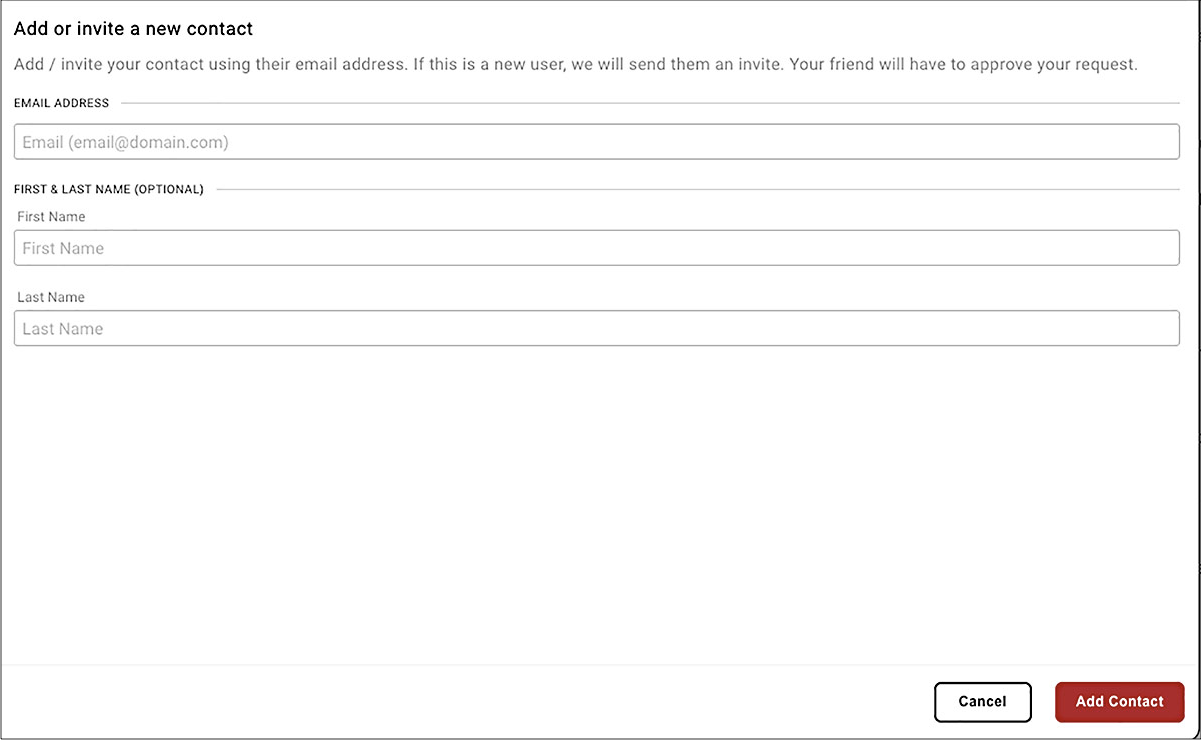
- Click the Add Contact button in the lower right side of the window for the Add or invite a new contact screen to save the contact.
To start a new Instant meeting with a contact simply any contact listed under RECENT CONTACTS in the left side panel of the Contacts screen.
Note: This is the same method that can be used from the Home screen with recent contacts.